User Guide (Package Version 1.19)
App’s installation is prerequisite for its use. If you have not installed and configured general settings, please refer to the Installation Guide.
1. E-mail Action creation
To create a new e-mail action template please follow these steps :

Step 1.
Click on the Tab E-mail Action.
Click on New Button.
Step 2.
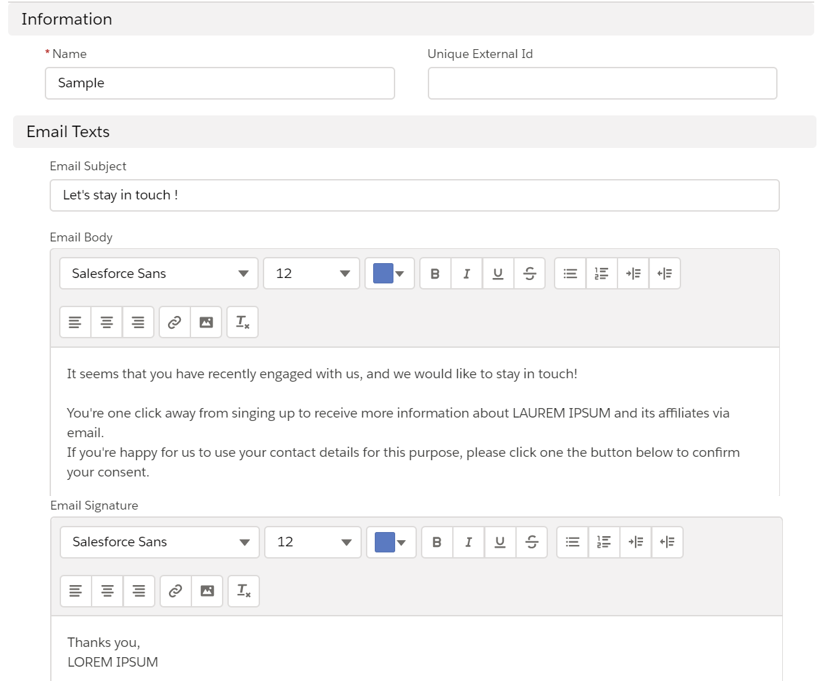
Fill the following fields:
• Name mandatory
• E-mail Subject: will be the E-mail subject after sending the e-mail.
ddd
ddd
• Complete the text for the e-mail body and the e-mail signature
If you want to use merge fields, the format is {!objectname.fieldname}.
Examples : {!Contact.FirstName}, {!Account.Name} , {!Case.Subject}, {!Opportunity.Name}
You can also browse into relationships if needed:
- Opportunity Owner’s Name = {!Opportunity.Owner.Name}
- Opportunity Owner Profile’s Name = {!Opportunity.Owner.Profile.Name}
- Opportunity Account Owner Profile’s Name ={!Opportunity.Account.Owner.Profile.Name}
Note:
You cannot use date merge fields directly. A workaround is to create a text formula to store your date and use the formula as merge fields.

Step 3.
Choose the different colors for the header, the background, the footer and choose your logo. You can also choose the position of your logo in the email.
To find the code color refers to the following site:
https://html-color-codes.info/Codes-couleur-HTML/
Step 4.
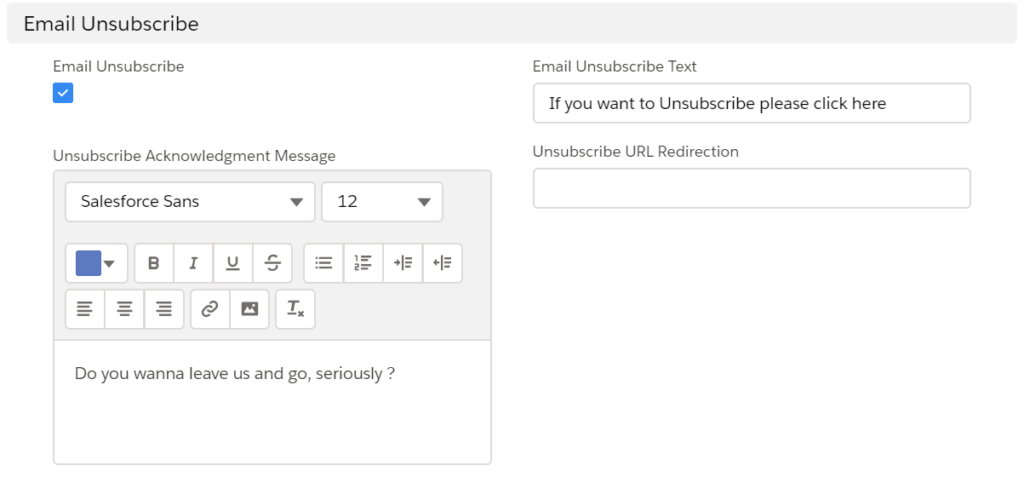
To manage Unsubscribe link:
• Check the email Unsubscribe checkbox
• Complete the unsubscribe text that will appear in the email footer
• If the customer click on the unsubscribe link you can:
– Either send him an e-mail with a message
– Or redirect him toward a website
• The unsubscribe opt out is stored in the interaction (cf chapter collect data)

Step 5.
Choose the e-mail address that will send the e-mails. 2 choices:
• User connected
• Organizational e-mail address
If you would like to go a step further, it’s possible to custom the page displayed once the person has replied :
- Step 6 : Add additional question(s)
- Step 7 : Display content dynamically from your organization’s data

Step 6.
You can add additional question(s).
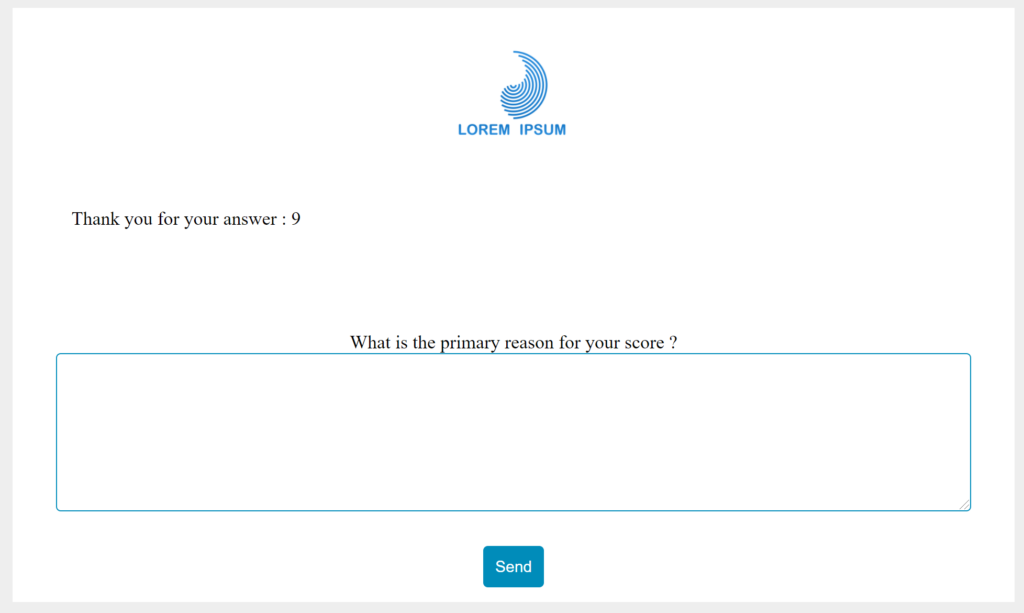
It allows you to display a comment field when the person has replied.
Step 7.
Finally, you can also add dynamic content. To explain this functionality, we will follow an example : we want to display the information of the sales manager (OpportunityTeamMember) of the opportunity related to our Interaction.
Example : James Cameron is the Sales Manager of the opportunity associated to the Interaction. We want to display his contact on the final page.
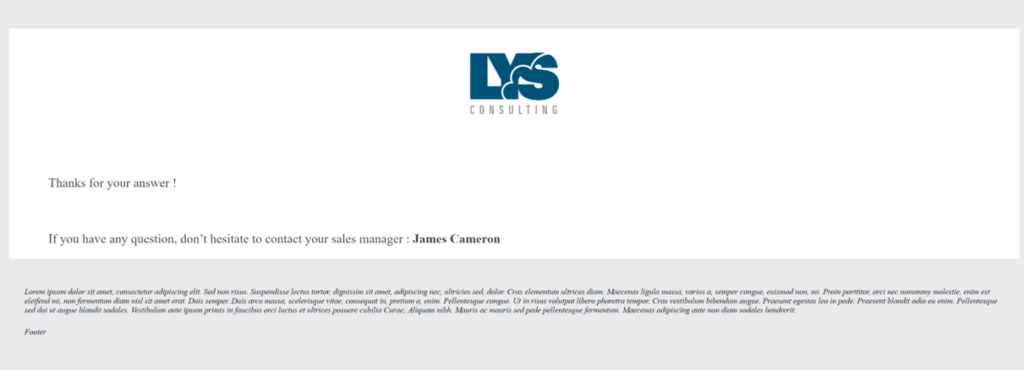
To do this, you have to use the field “LinkedRecordId” on the Interaction object. You can find the data from the object stored in LinkedRecordId. This field must be decrypted from the token present in the URL and passed to the deserializeToken () function.
- Create a custom extension EmailAction_bis_extension
2. Duplicate the EmailAction.vfp page:
- Open EmailAction.vfp and copy/paste into a new file, for example EmailAction_bis.vfp
- Add an extension in the visualforce page: extensions = “EmailAction_bis_extension”
- Add a reference to display the data retrieved via the specific controller : If you have any question, don’t hesitate to contact your sales manager: {!commercialName}
3. Adapt and modify user redirection with the new VFP :
Go to Setup -> Sites -> Email Action -> Edit : Active Site Home Page – Put the new VFP: EmailAction_bis.vfp instead of using the standard page.
2. Manage the action buttons
To insert new buttons in your template, please follow these steps.
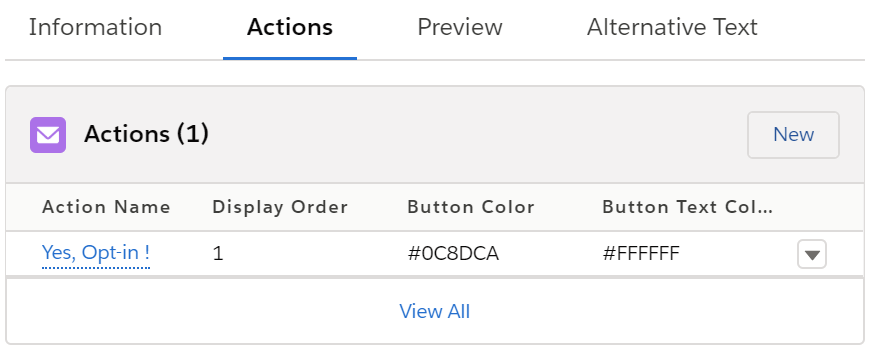
If you want to add more buttons, click on the new button to add some more buttons inside the e-mail.
Step 1.
Click on the Tab Action in your e-mail template.
Click on New Button
Step 2.
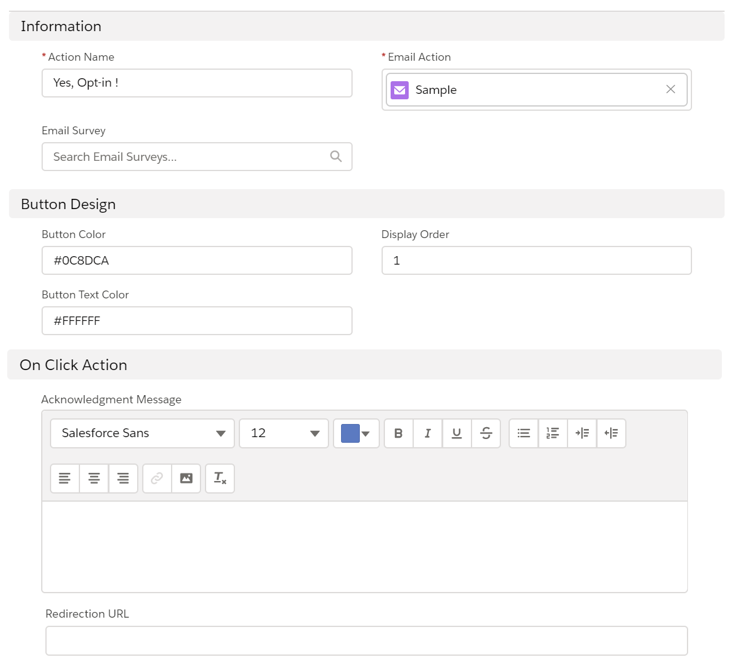
Fill the following fields:
• Action Name : the button name it will appear as a text inside the button
• Button color: background color to choose in the HTML color site
• Button Text color: color text inside the button
• Display order : to sort the different buttons
• On click Action: once the customer has clicked on one button, he can receive an acknowledgement e-mail.
He can also be redirected to your website, if you fill
the redirection URL field.
3. Preview the result
Click on the preview tab to see the result :
VV
4. Send the e-mail to the contact or user
To send the e-mail create an interaction.
Step 1.
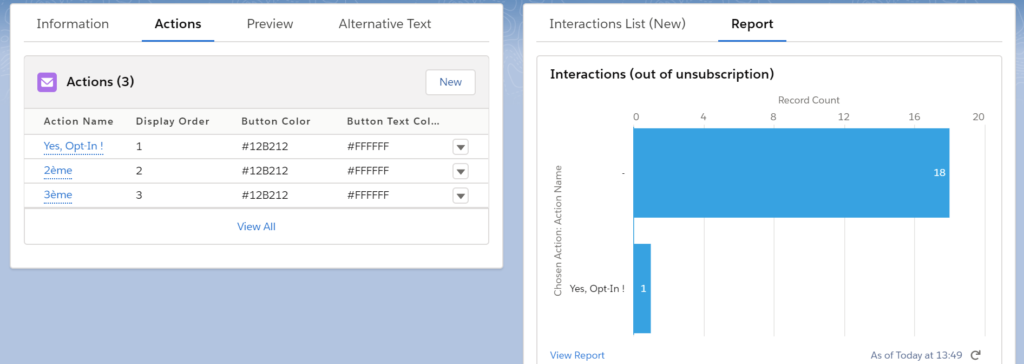
Open the e-mail action just created.
Step 2.
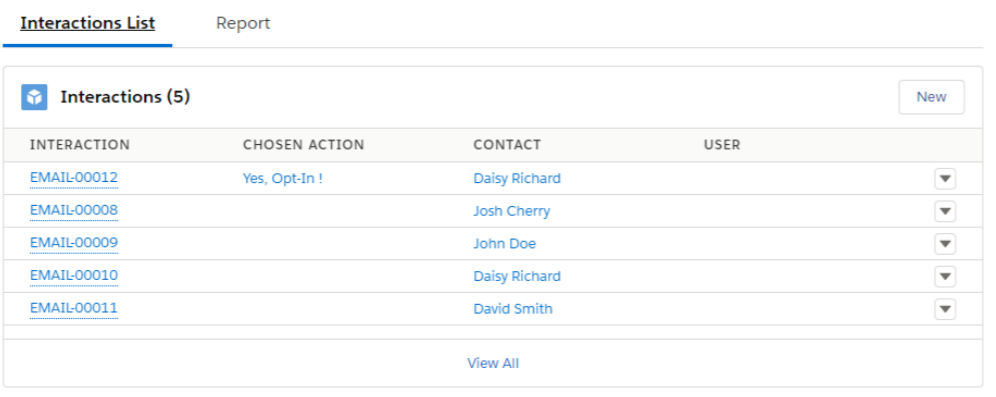
Click on the interaction list tab.
Click on the new button.
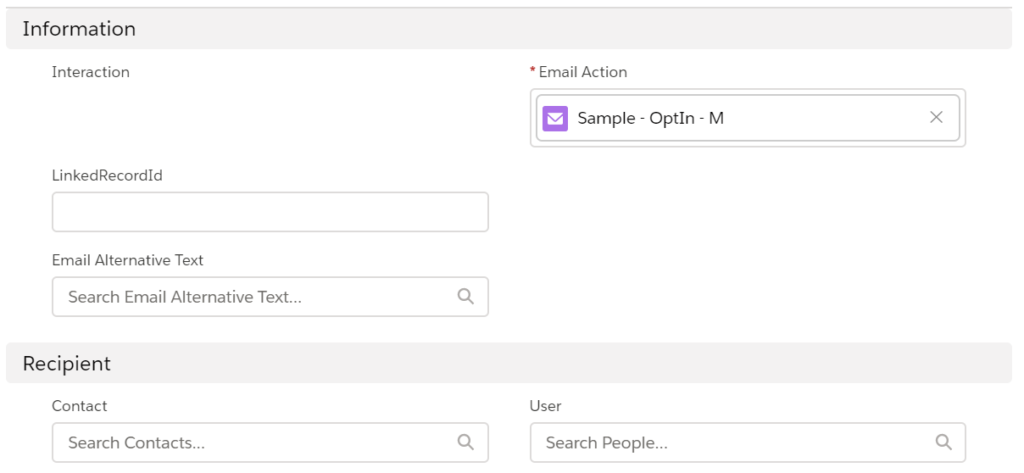
Step 3.
Choose a contact name or a user name.
The contact or the user will receive the corresponding e-mail.

Step 4.
If they click on one button, you will capture the result in the section chosen action.
If the contact clicks on unsubscribe the unsubscribe checkbox will be checked.
5. Automate your process
To automate your process we advise you to create automatically interactions using process builder.
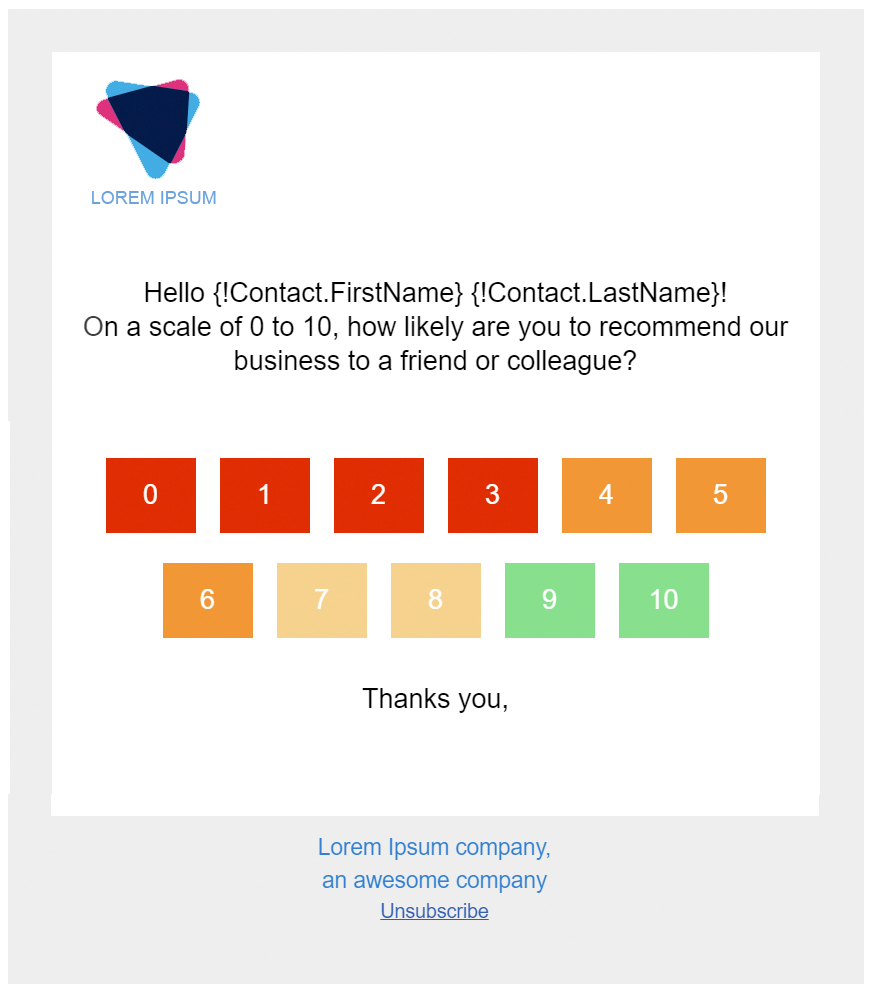
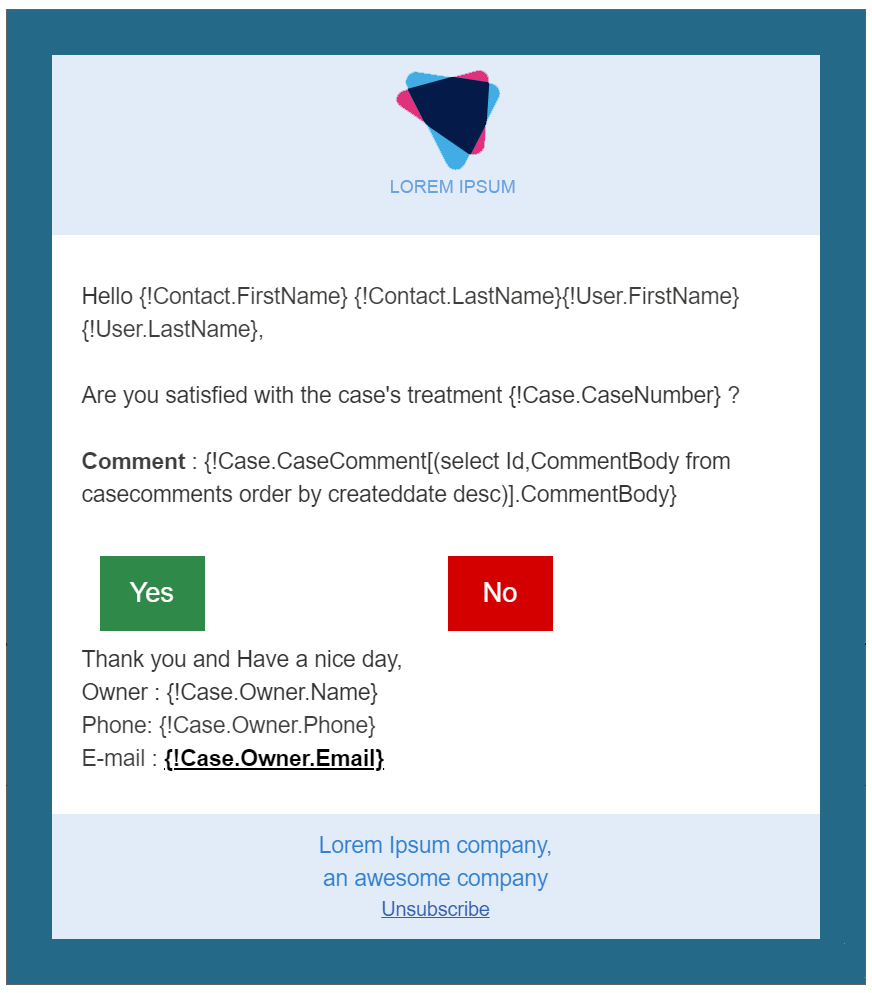
This is an example to create automatically a NPS survey every time a case is closed inside Salesforce using e-mail Action:
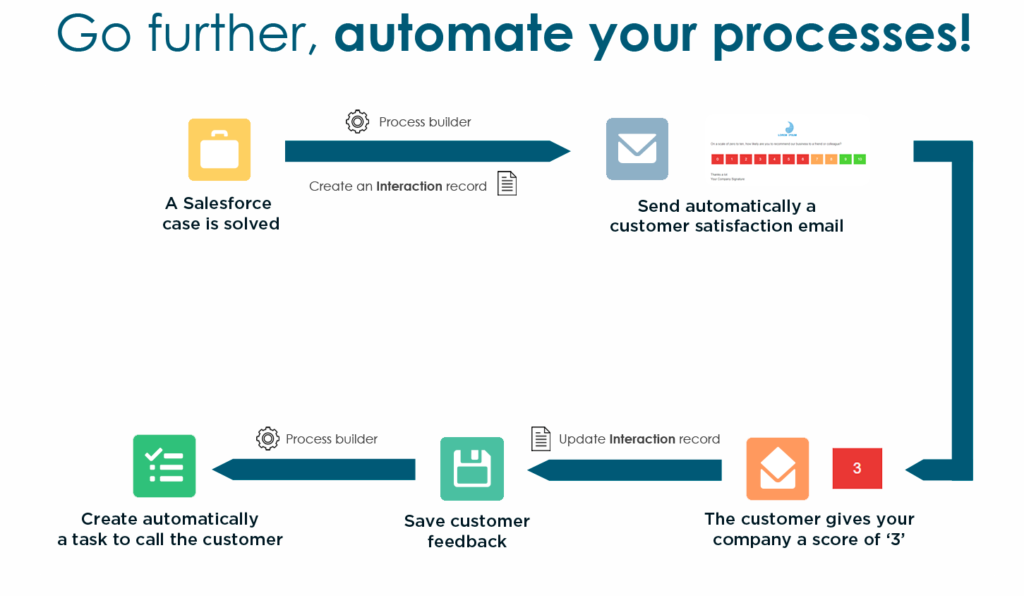
6. Import Email Actions Samples (NPS…)
If you want to have templates of Email Actions, please follow this step :

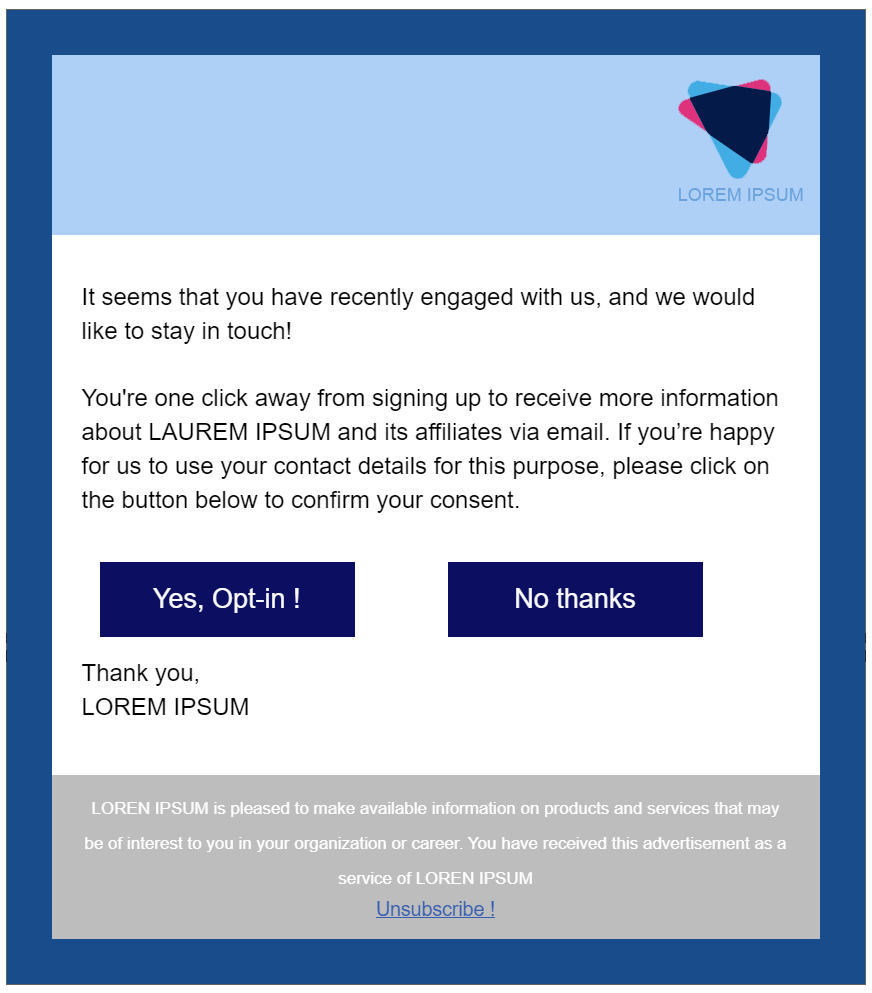
On the Email Actions page, click on “Install Samples” button.
.


