Installation Guide (Package Version 1.19)

1. AppExchange Installation
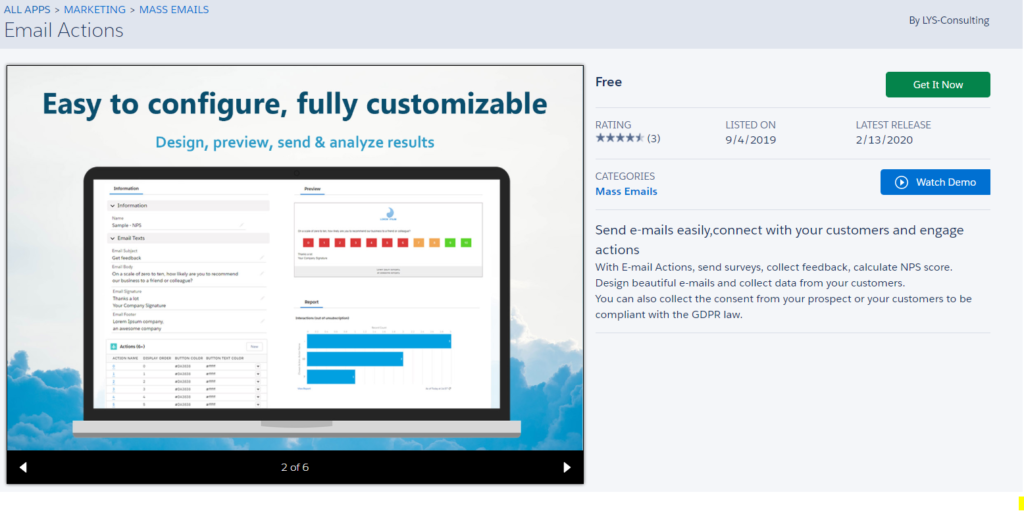
Step 1.
From the App page, click on Get it Now and log with your production credentials (you will decide right after if you install the app in your production or a sandbox org).
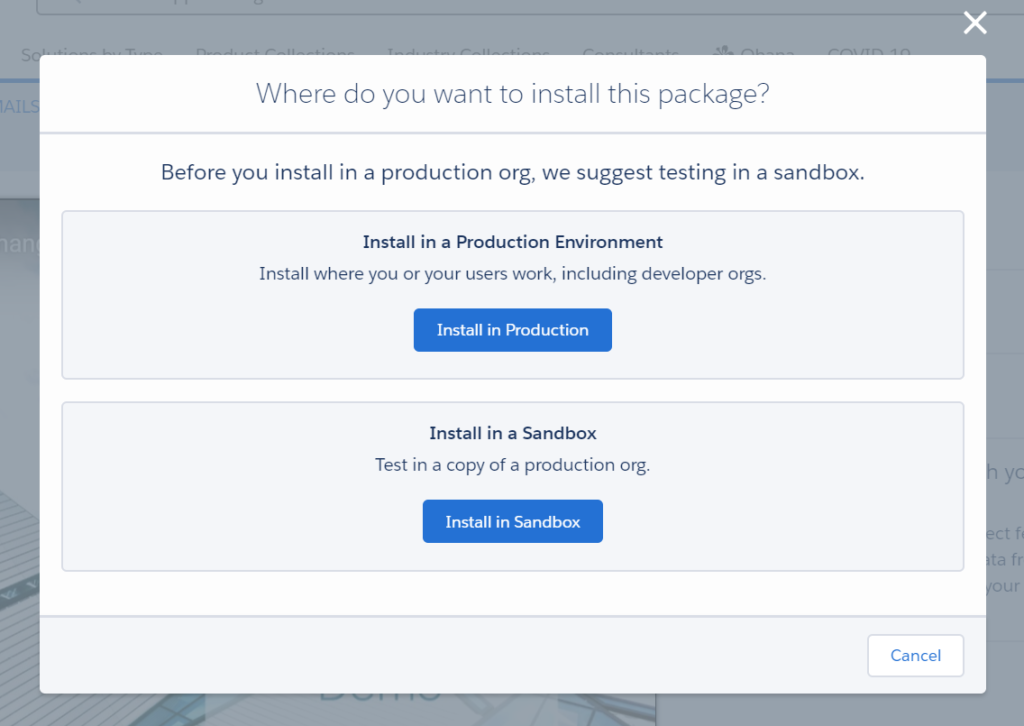
Step 2.
Choose where do you want to install this package:
– Production
– Sandbox
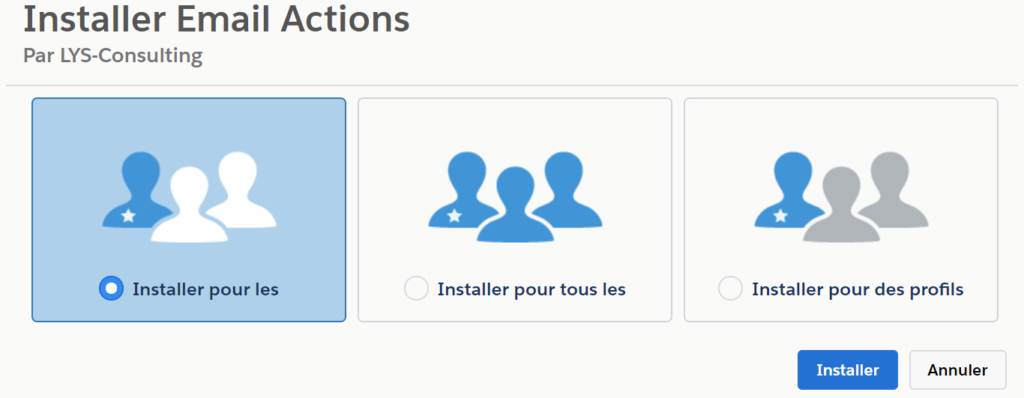
Step 3.
Choose a security level and click on Install button.
2. Configuration : Site Creation
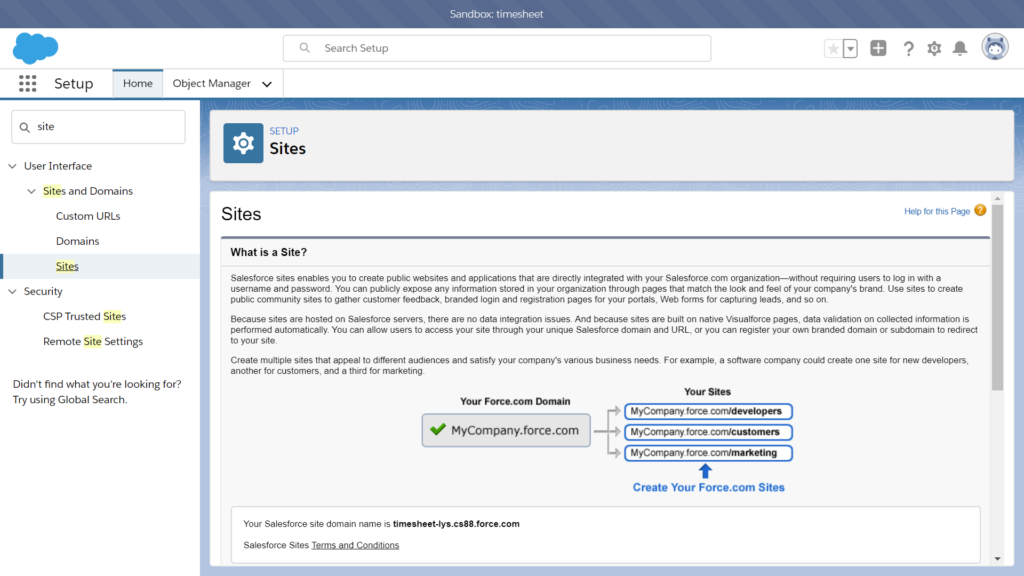
Step 1.
In Setup, navigate to Sites and click on New button (a force.com Domain is needed).
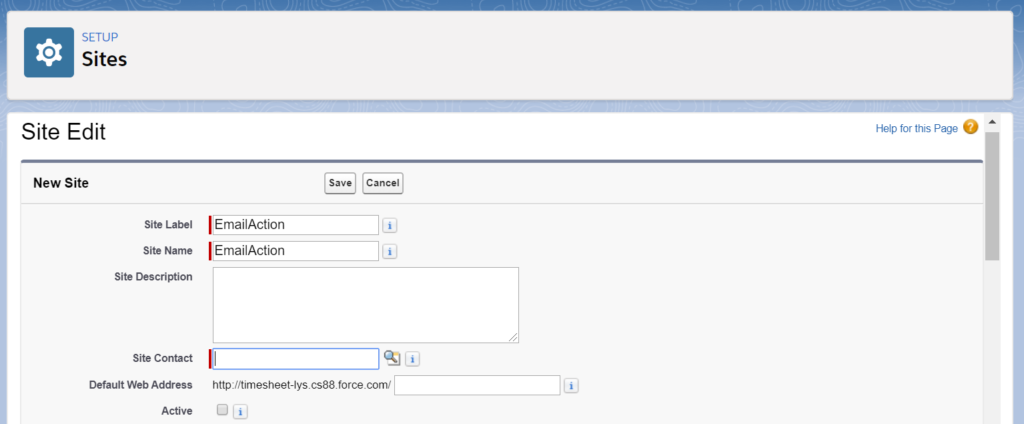
Step 2.
Fill in at least the following fields:
• Site Label: EmailAction
• Site Name: EmailAction
• Active Site Home Page: EmailAction
And click on Save Button
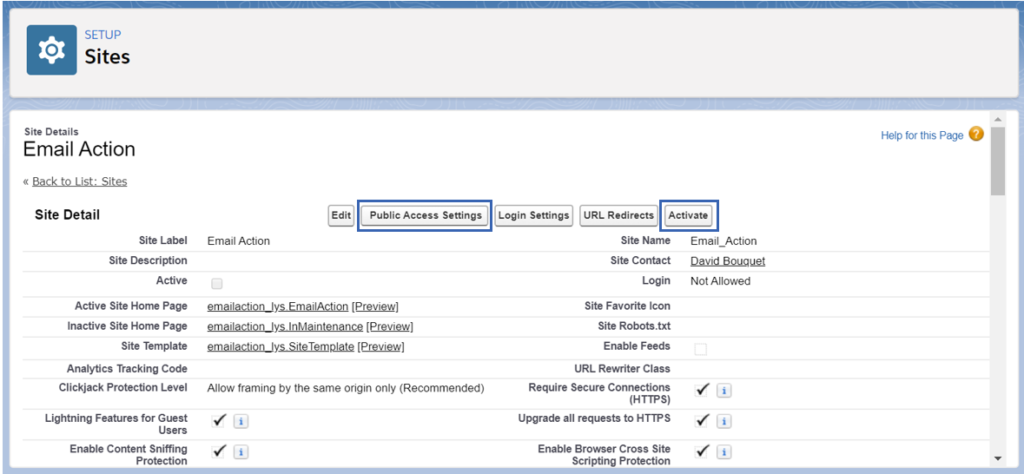
Step 3.
Click on:
• Activate Button
• And Public Access Settings Button
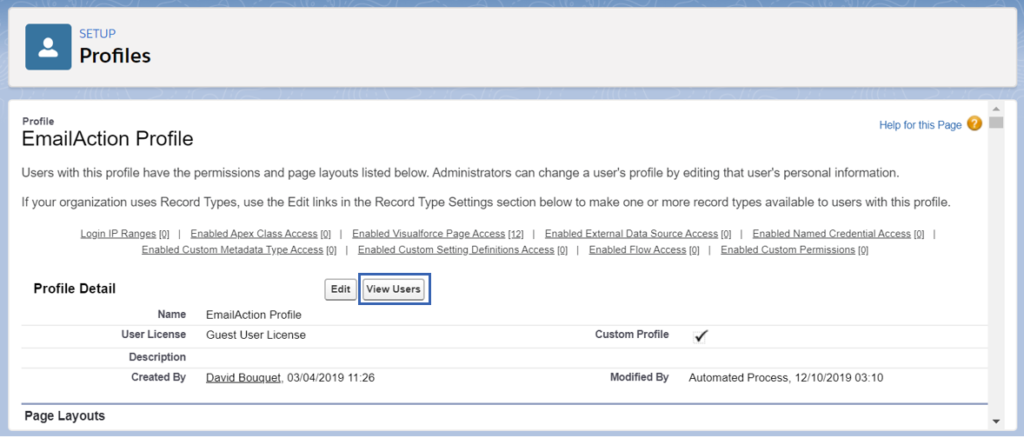
Step 4.
Click on View Users Button.
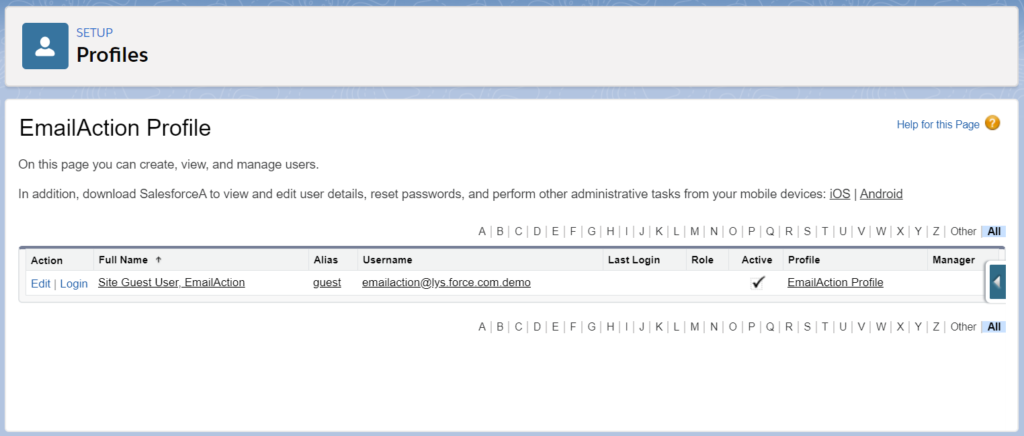
Step 5.
Drill down on user Full Name.
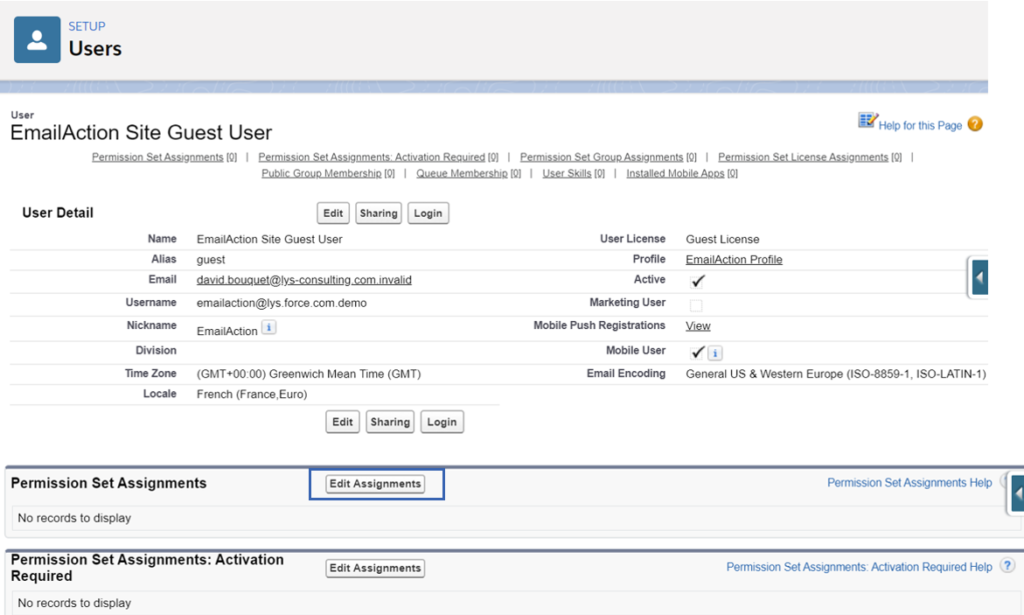
Step 6.
Click on Edit Assignments to add a permission set.
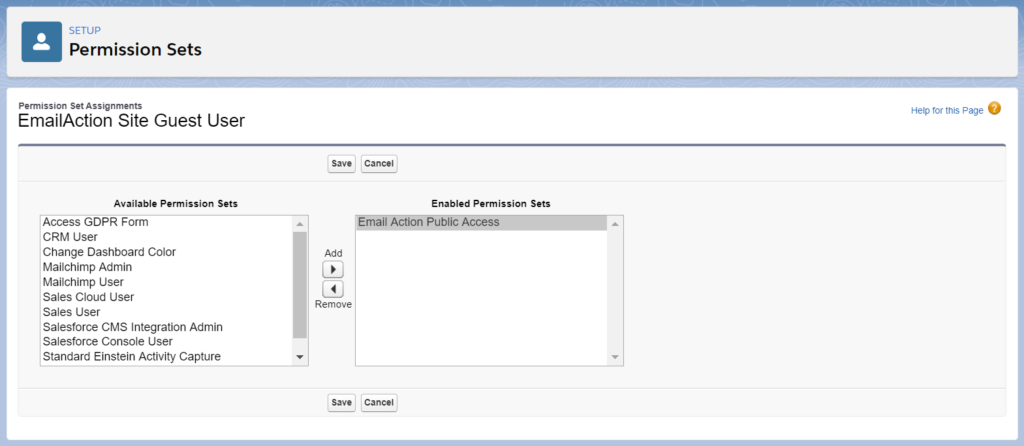
Step 7.
Select Email Action Public Access and click on Save Button.
3. Configuration : Custom Settings
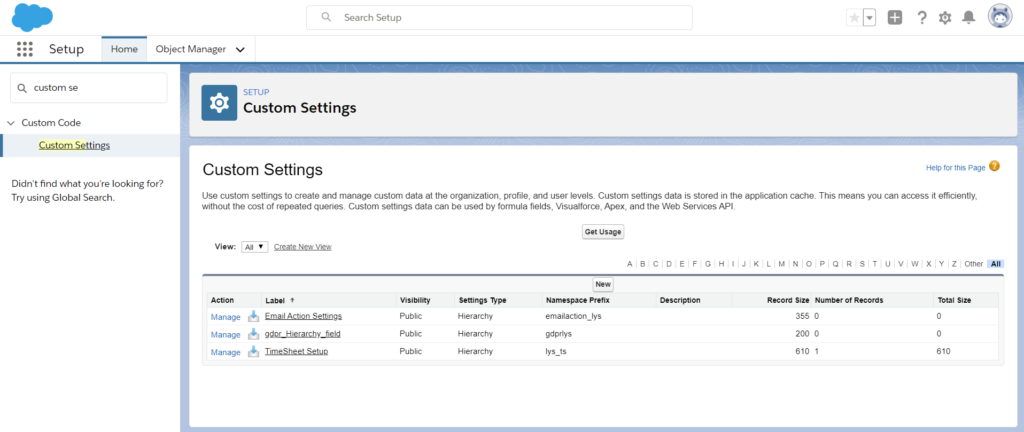
Step 1.
In Setup, navigate to Custom Settings and click on Email Action Settings.
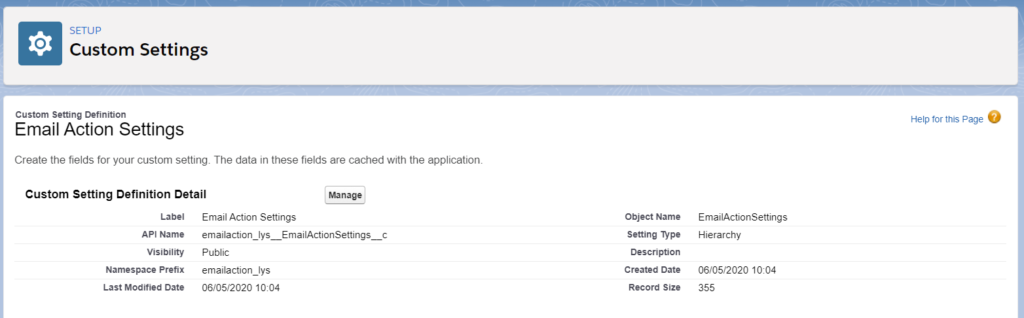
Step 2.
Click on Manage button.
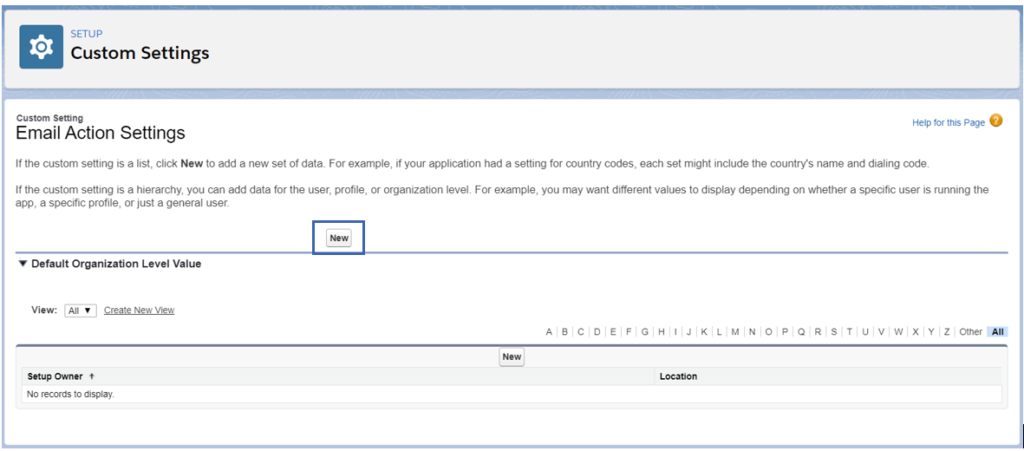
Step 3.
Click on New button.
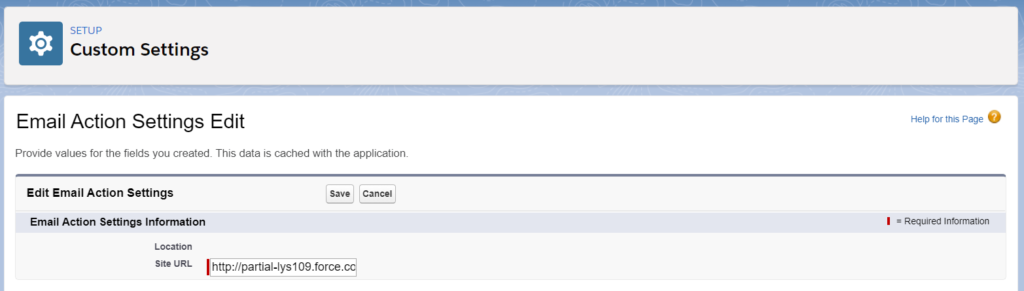
Fill in the Site URL and click on Save button.
This value must be the same than Default Web Address previously configured in the Site.
4. Configuration : Sharing Settings
To finalize the installation, please follow theses steps :
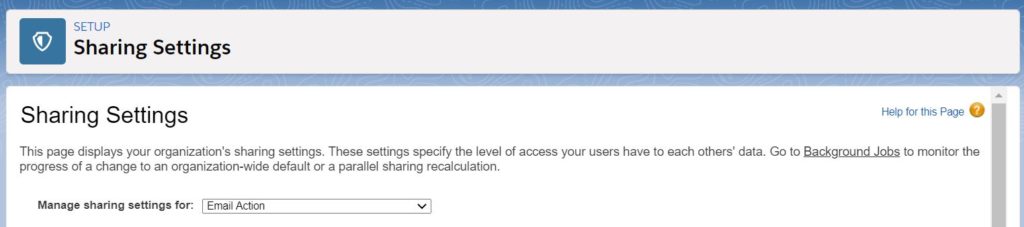
Step 1.
In Setup, navigate to Sharing Settings and select Email Action’s object.

Step 2.
Click on New sharing rules.
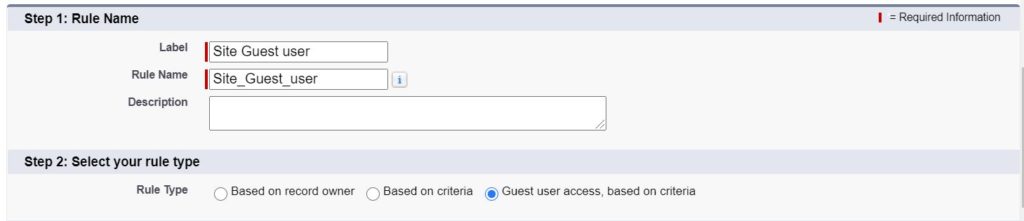
Step 3.
- Name it Site Guest User
- Select Guest user access based on criteria
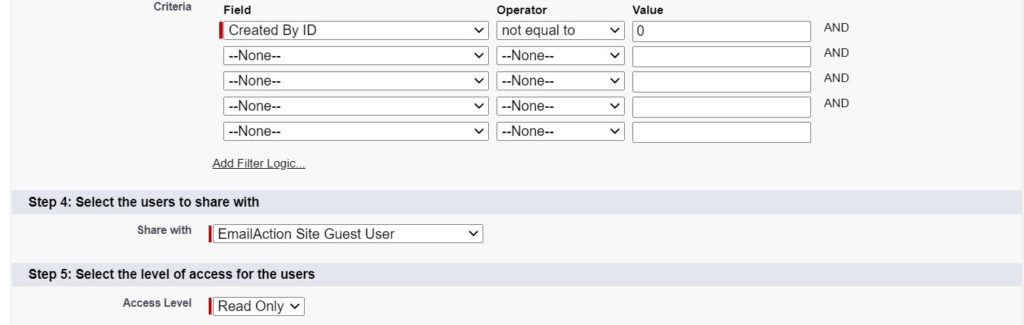
- Fill in the criteria :
Created By ID Not equal to 0

You must have the following rule :
Watch our video to see How does It works:
______________________________________________________